Torso Mechanics & Strapping V2
Iron Man Cosplay Torso
This page is about building the torso ‘mechanics’, check out the main project index for the rest.
This is the second version of the strapping system for my Iron Man suit. The first version will be modified so that the ‘mechanics’ are fitted inside each piece of armour, rather than being a thing you put on first.
There’s somee of YouTube videos about this.
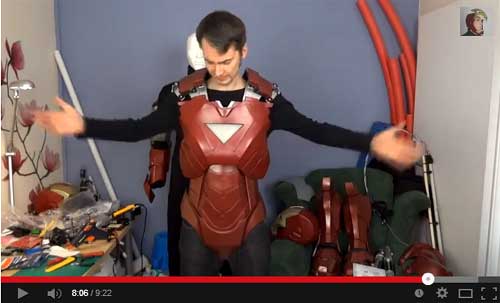

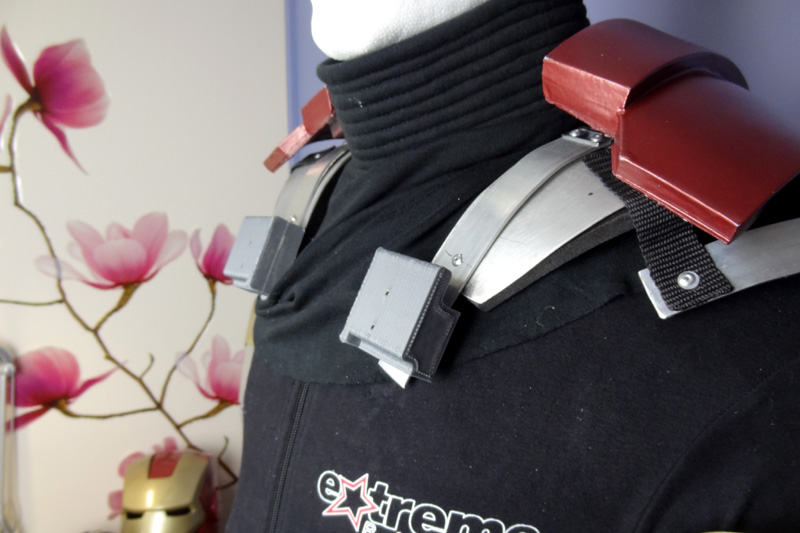
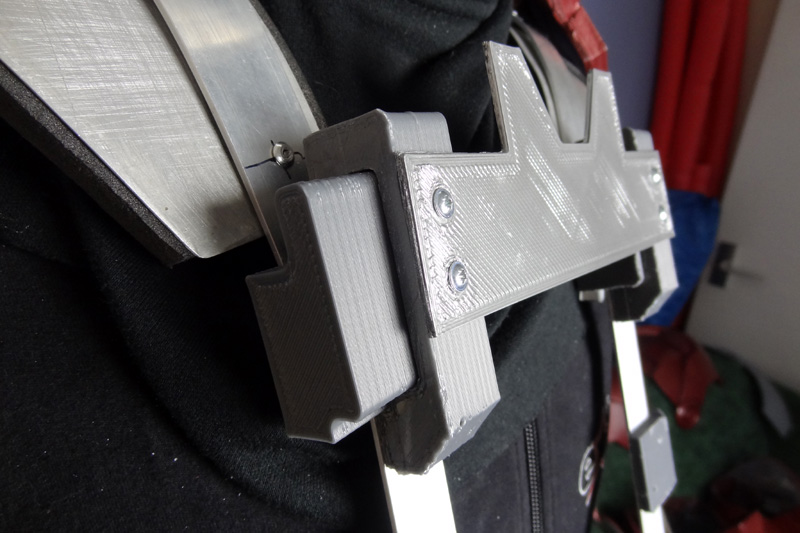
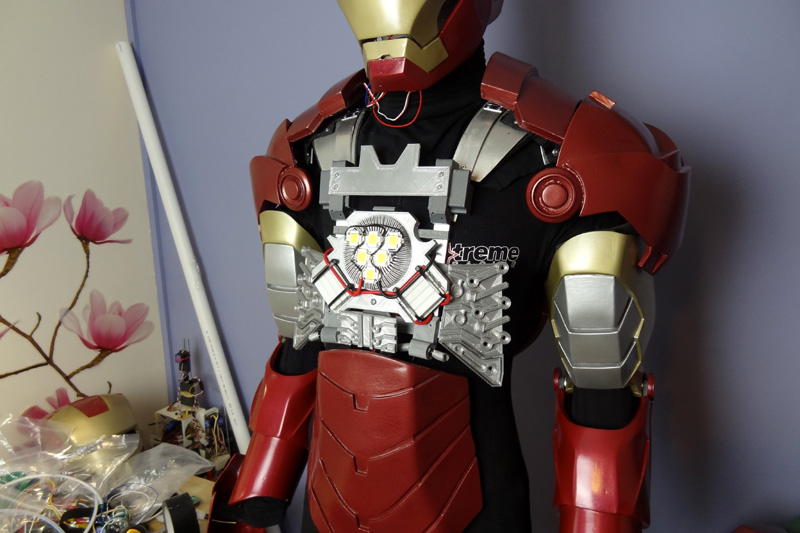
Using parts of the original ‘exoskeleton’ torso strapping system, and some new 3D printed parts, I have begun replacing the way that the torso fits onto the wearer:

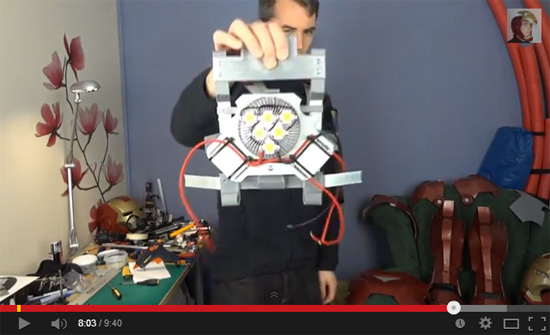
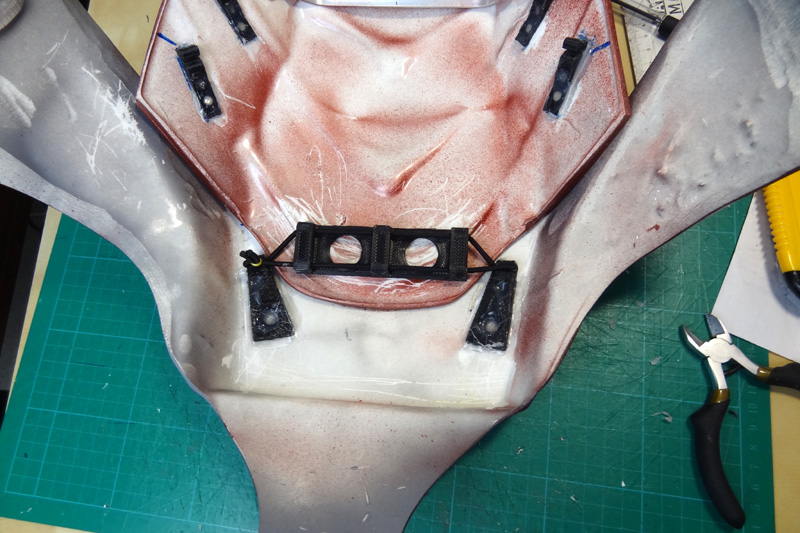
I also need somewhere to mount the Unibeam, as well as the suit’s electronics:


You can get the STL files for 3D printing from my downloads page.
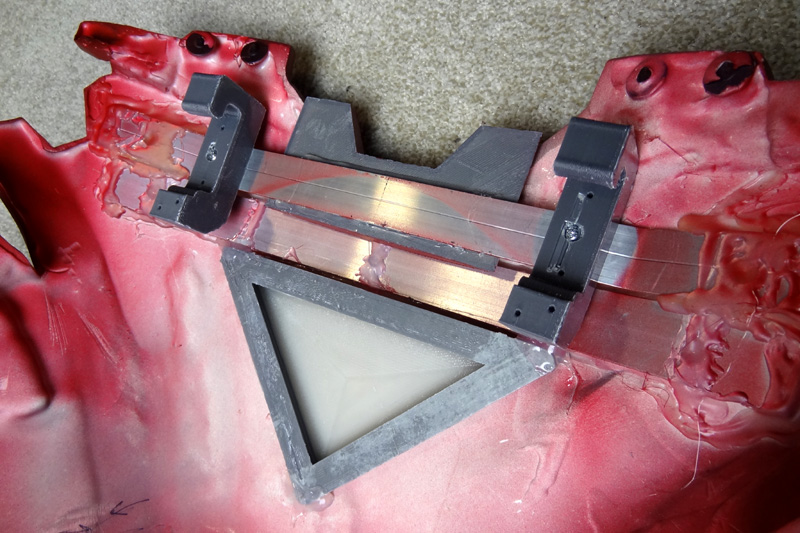
The original torso back is now permanently mounted inside the torso armour, hooks attach the inner ‘mechanics’ and the outside armour to the back section:
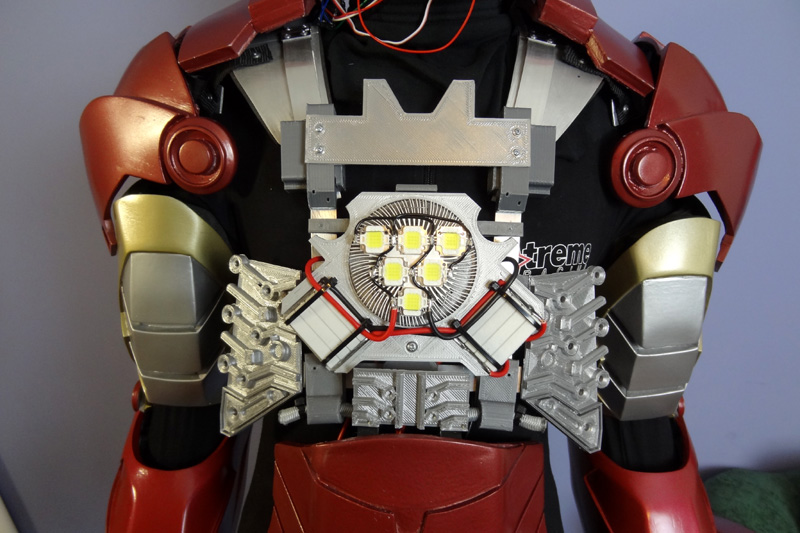
The Unibeam is mounted on the frame so that it’s light will shine through the diffuser:


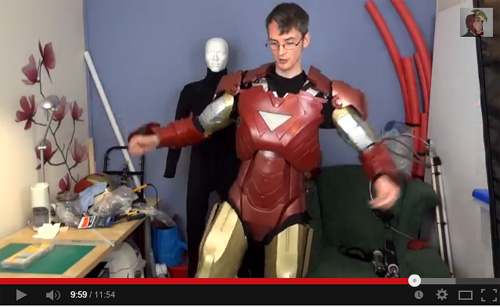
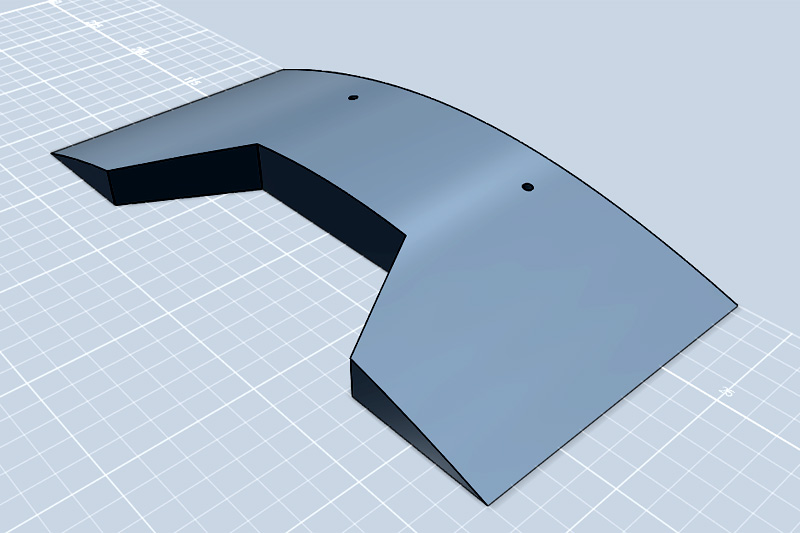
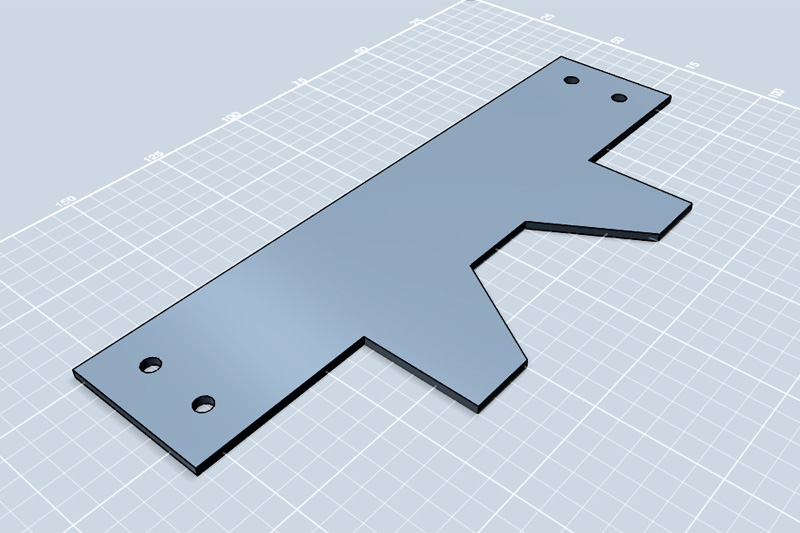
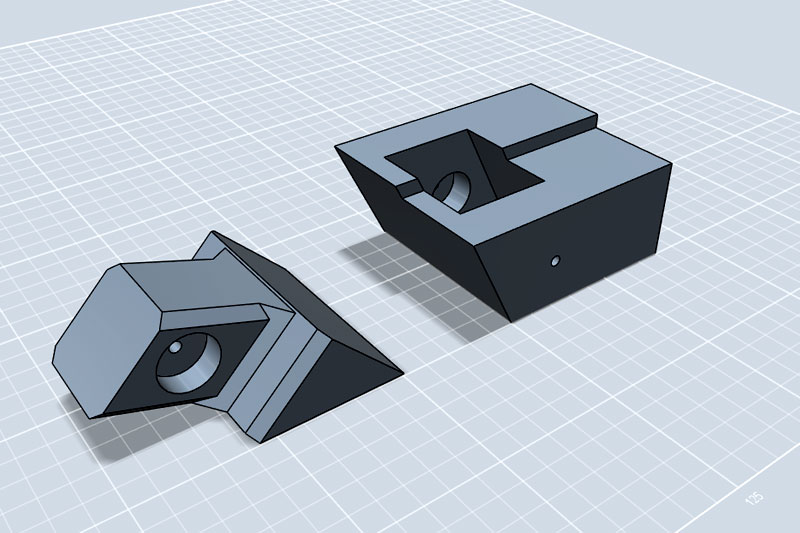
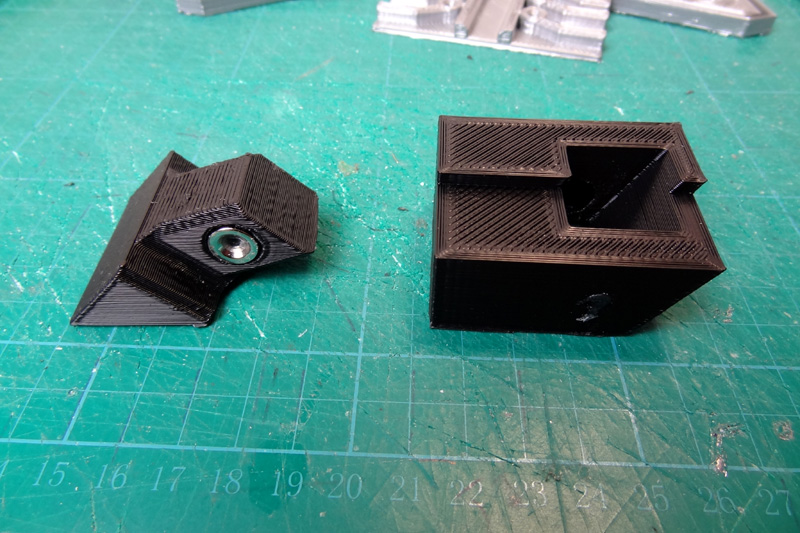
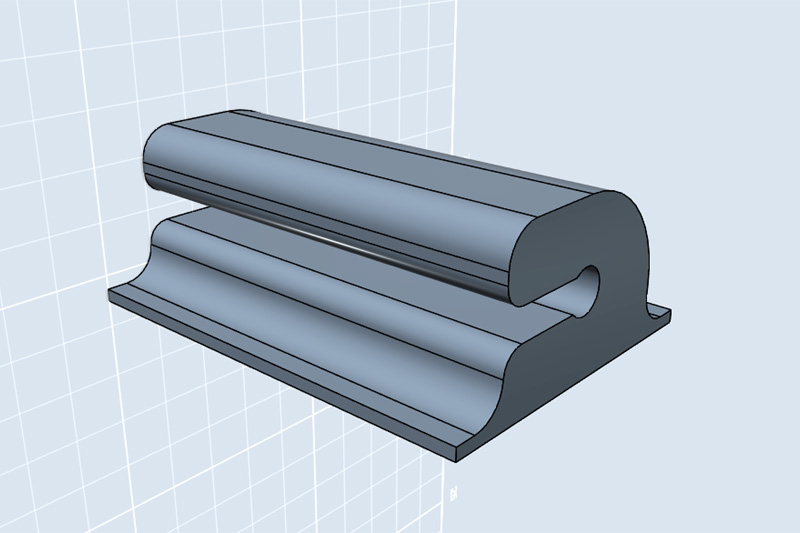
Here are the next parts – rib details, Ab plate hooks, and shoulder brackets:
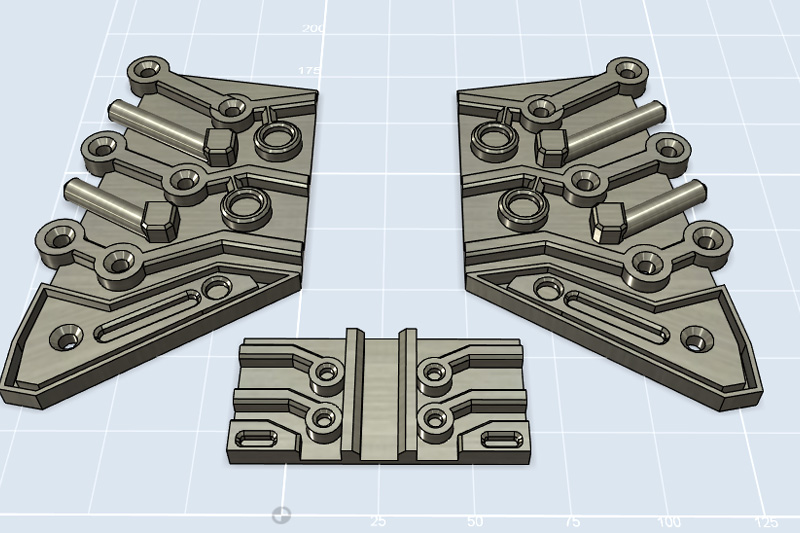
You can get the STL files for 3D printing from my downloads page.
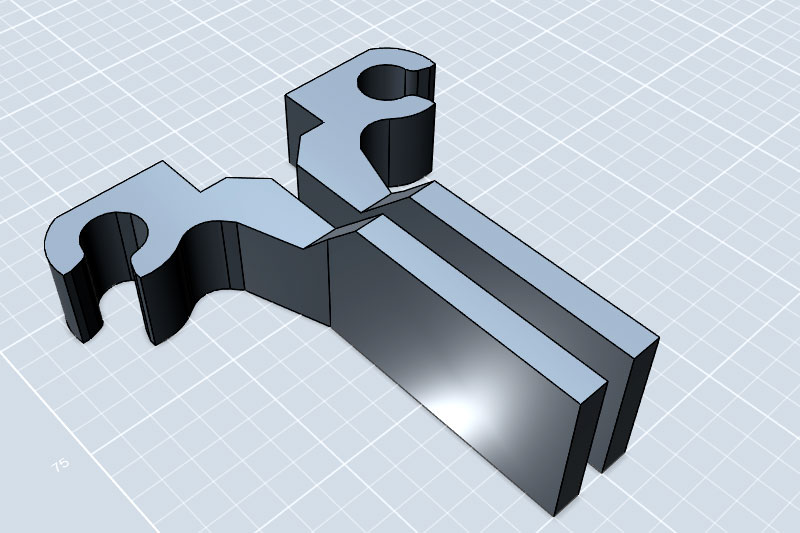
The shoulder brackets are essentially hooks with magnets in to hold them together:
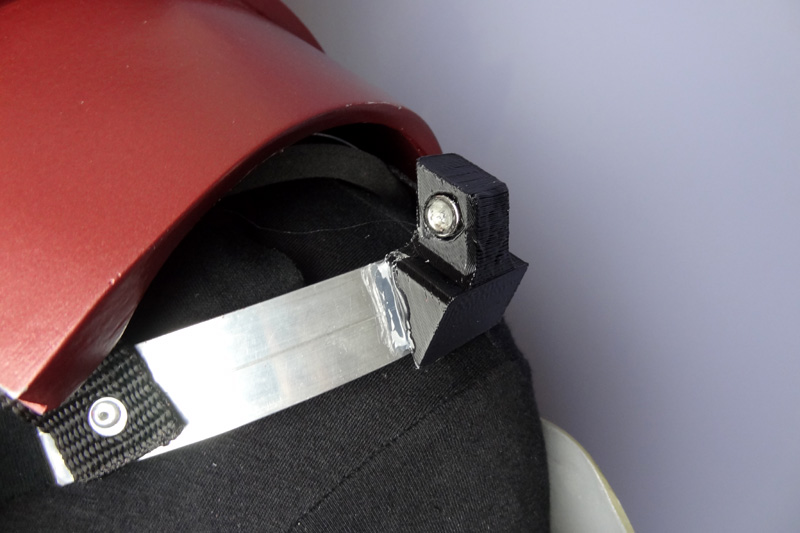

This allows holds the shoulder bell on securely but allows it to hinge upwards/outwards:


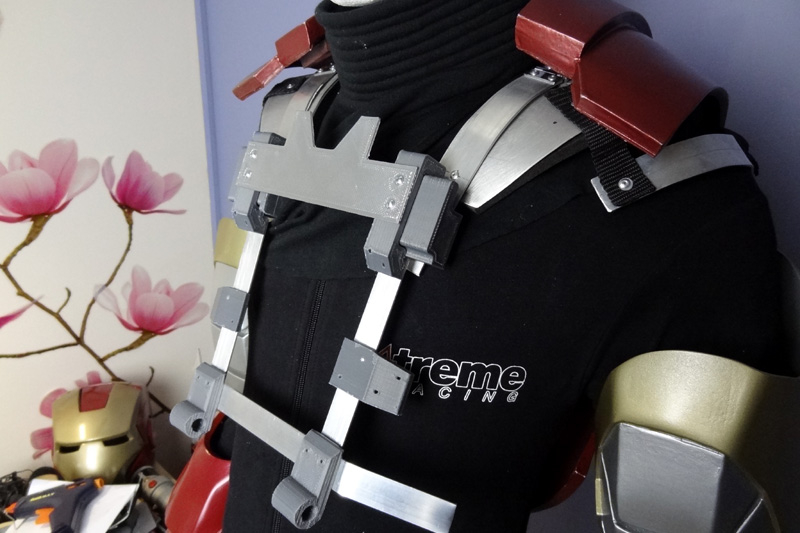
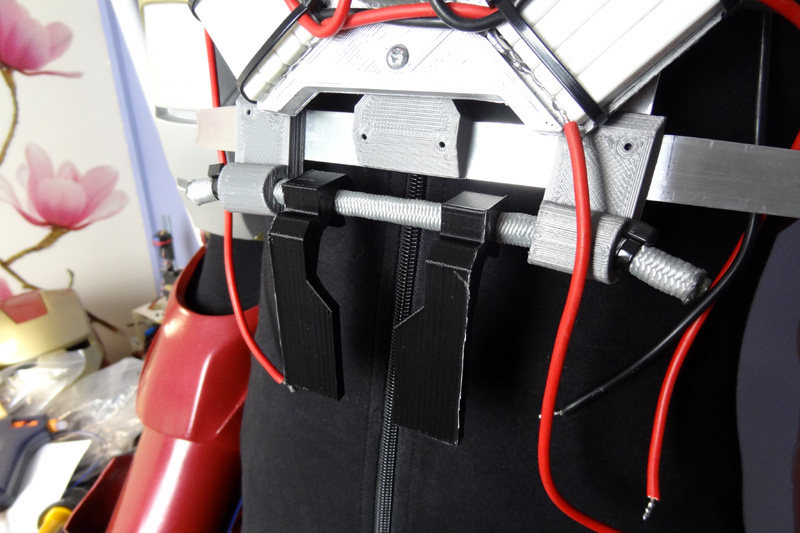
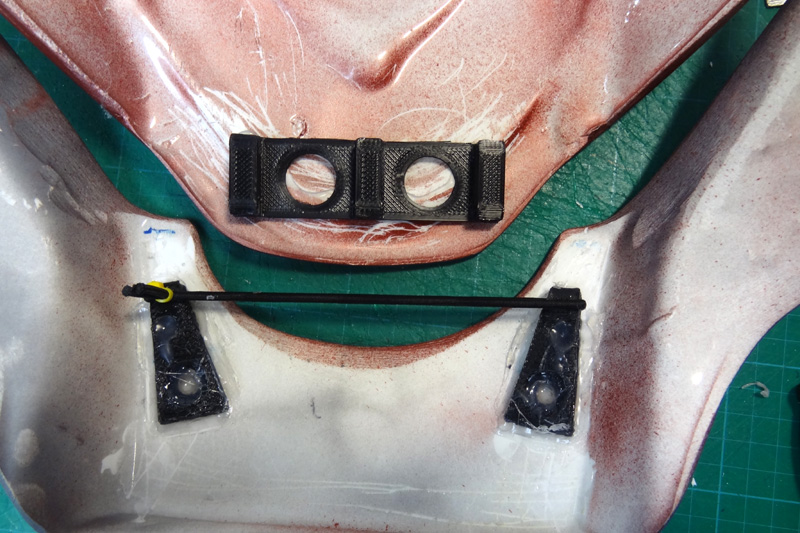
The Ab hooks grip a bungee cord which is attached to the previous section, these are glued to the Ab plate along with the third detail section:
The Ab sections have their own page – these were made from a variety of sheet materials. I’ve 3D printed some more parts to attach the lower torso pieces together:


The parts use elastic bungee cord to make flexible links between the pieces:


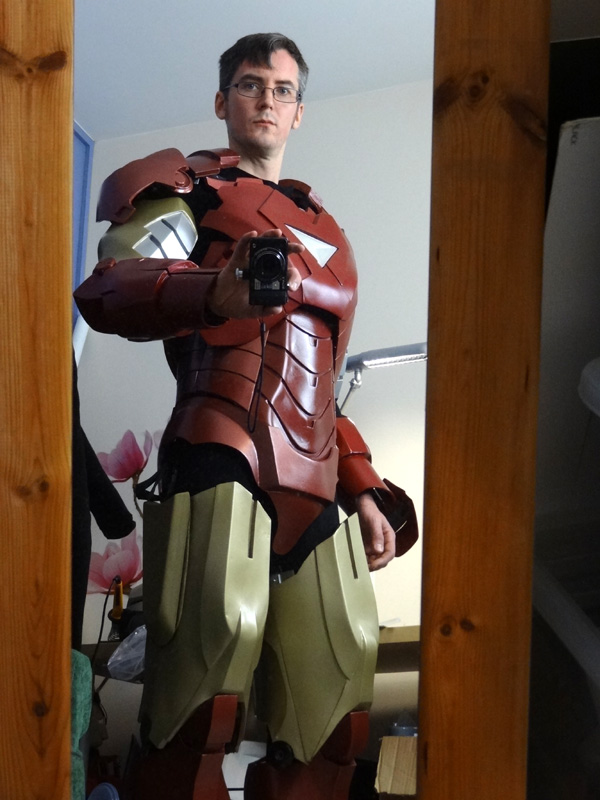
Here are the parts all together so far:

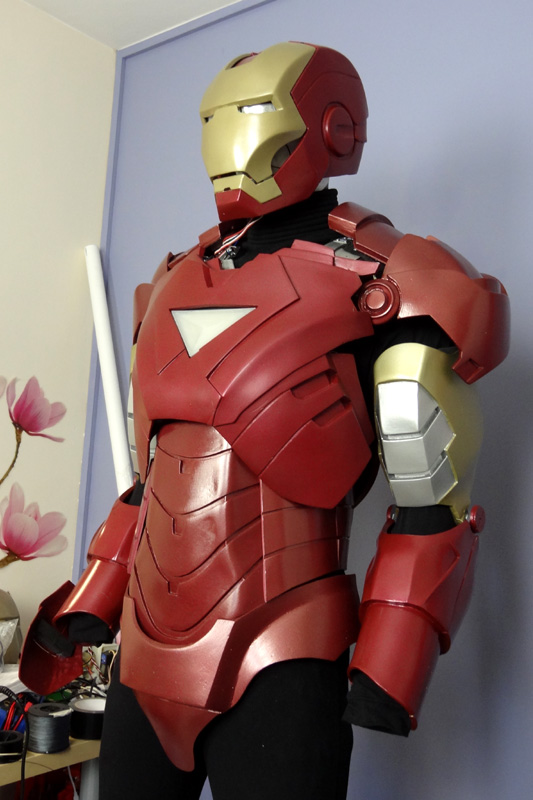
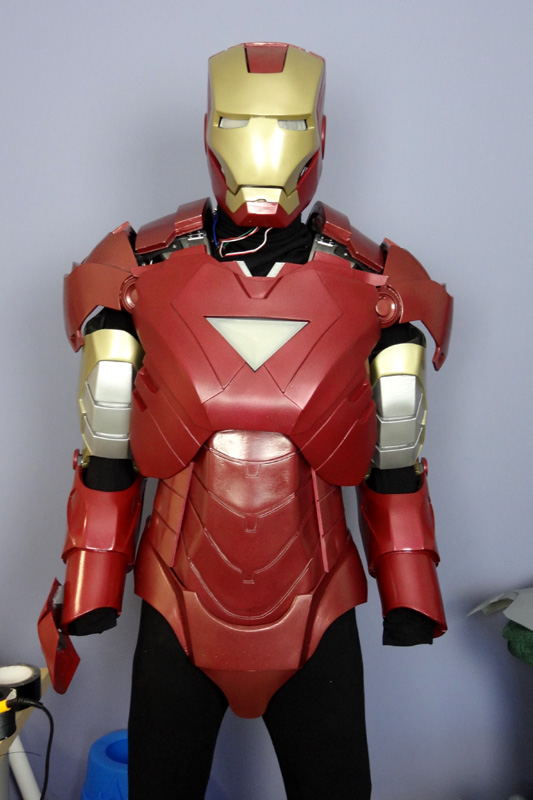
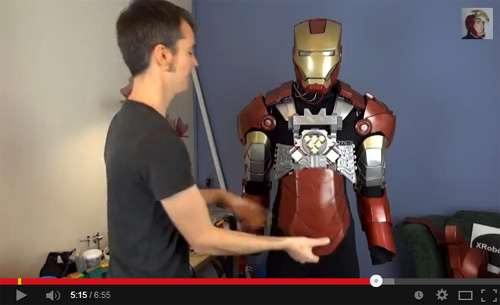
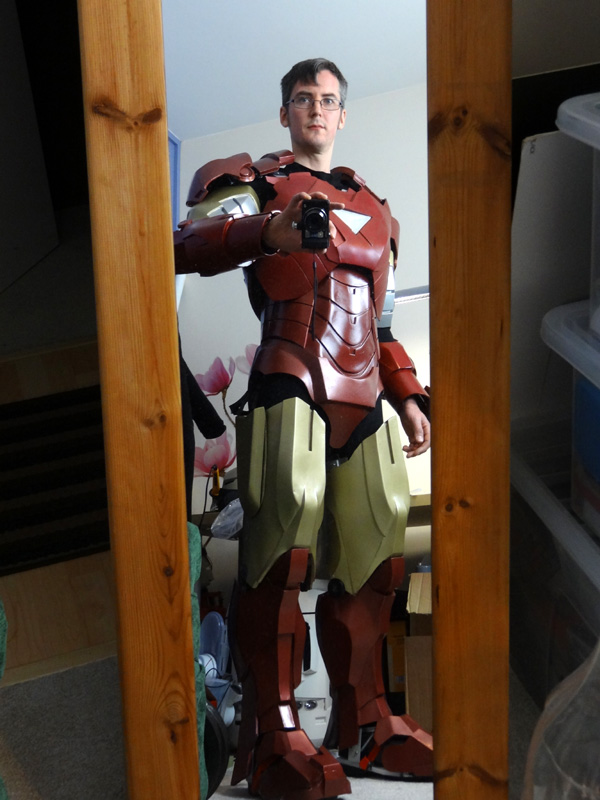
Check out the page about the legs, and some pictures of the whole suit so far:

Related Posts


About The Author
James Bruton
My name is James Bruton, I live in Southampton, UK. Please note that this is my personal project website, I have no products for sale, most of the information is provided so that you can have a go yourself... Read More