Making wrap-around moulds for arms and legs
Making wrap-around moulds for the arms and legs
This page is about moulding the legs, check out the main project index for the rest.
This is the process I used to make wrap-around moulds for the arms and legs, with one piece of silicone and a two part mother mould. This means there is only one seam line to clean up in the cast, and less chance of the mould leaking during rotocasting.
Here is a video about the actual rotocasting process, scroll down for pictures and words:
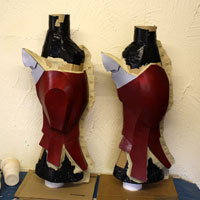
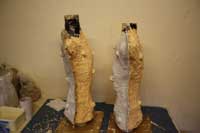
First the parts are set up on cardboard tubes and clay, and a clay dividing wall is made down one side with circular indents in it. This will eventually be where the split is in the silicone rubber part of the mould, and the indents will allow the seam of the silicone to locate correctly:
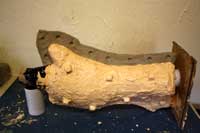
Next an un-thickened coat of Silicone RTV is applied so that all the details are picked up, followed by two coats with thickener added which means the silicone can be spread on like butter. I also stuck lumps of Silicone on the outside which were cast in ice cube moulds, these will make keys so that the silicone part of the mould locks into the rigid mother mould which will be made over the top:
Now the pieces are turned the other way up, and the clay dividing wall removed:
Very important – the edges of the silicone must be sealed before applying the other side. I used petroleum jelly which will stop the silicone sticking to itself at the seam point. Next the other side of the silicone is applied, continuing from the siliconethat was already applied, all the way around to the seam edge. Ice cube chunks are again applied to make keys for that side of the mother mould:
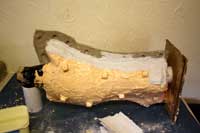
Now it’s time to make a two part rigid mother mould. This has to be in two sections because it’s not flexible like the silicone, so it needs to separate so it can be removed. Another clay dividing wall is made on the opposite edge of the piece to the silicone seam. I’ve used two layers of modroc plaster bandages firstly as a basis for the mother mould, but this will havefibreglass laid over it once it’s dry:
Once that side is set, the clay dividing wall can be removed. Importantly we must again seal the edge of the modroc with petroleum jelly before doing the other side, so it doesn’t stick together:
Now the other side of the piece is covered with modroc, and both sides are let to dry:
Once the modroc is dry, fibreglass reinforcement is applied to both sides. In this case I used a combination of Jesmonite, and some other yellow plaster I had lying about – basically anything strong and rigid will do.
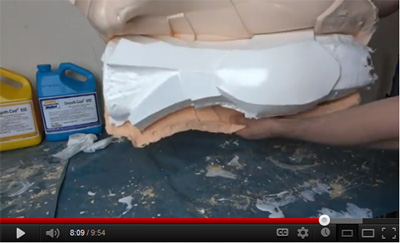
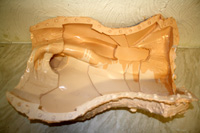
Once the rigid mother mould it set, we can remove the two halves and remove the silicone mould from the original piece. You’ll notice that the silicone piece varies in colour – this is because I didn’t mix the catalyst with the base consistently, but it’s all one solid piece of rubber:
Now the mould can be reassembled so that we can make casts from the inside. The lumps on the outside of the silicone locate into the indents in the mother mould so it goes back together in exactly the right place. I’ve left the smallest holes in the each end if the mould so that resin doesn’t just pour out when we rotocast inside:
