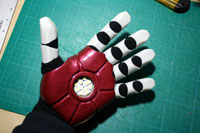
Hand Armour
Iron Man Suit Hand Armour
This page is about the hand armour for the suit, check out the main project index for the rest.
This page is an explanation of how I built the hand armour sections. I will update it as I go.
Here’s some YouTube videos about process so far, or scroll down for the written version with pictures
My plan for this section is as follows:
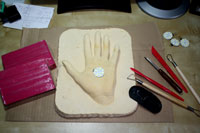
-Life cast my hands using Alginate, so I have an impression of the palms of my hand on a solid base.
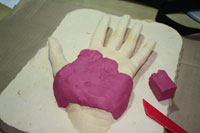
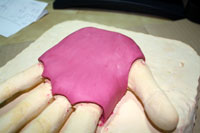
-Sculpt the armour palm pieces over the life cast of my actual hand.
-Make a new rubber mould from each sculpt.
-Cast a solid version of each.
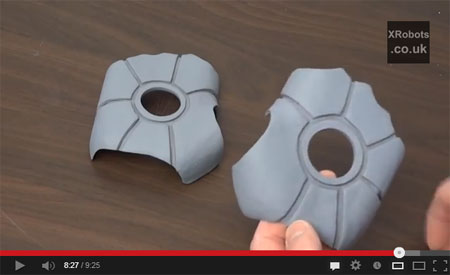
–Vacuum form a shell of each sculpt, trim.
-Make the finger sections separately, possibly by vacuum forming each finger section individually.
-Devise a latching system and minimal under-frame for each hand to hold it all together.
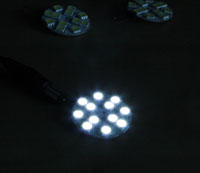
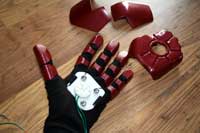
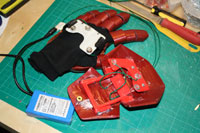
I have black gloves to wear under the armour pieces, and some LED clusters. These are ‘G4 base SMD’ LED boards which I bought on eBay for just over 2 GBP each.
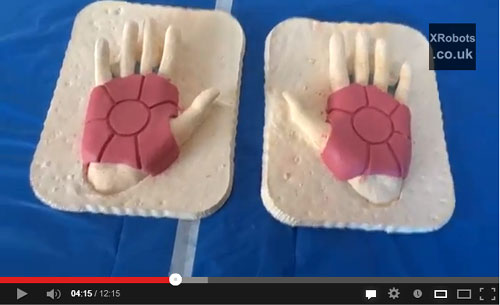
I have also made a left cast of both my hands as demonstrated in the video above:
Next step is the clay sculpt for each palm, here are some preliminary pictures:
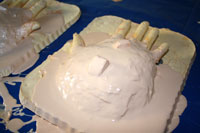
I used Silicone RTV to mould the hands, using one coat of unthickened silicone, followed by one with thickener. I also stuck some silicone lumps to the top to make mould keys. Modroc was then used to make a rigid mother mould to support the rubber:
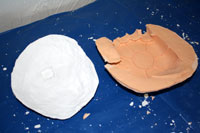
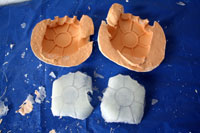
Once the modroc is dry it can easily be removed and trimmed. The silicone is also remove and trimmed, and can be located back into the mother mould correctly using the mould keys. Here’s a picture of the moulds, along with the first raw cast:
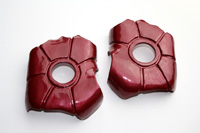
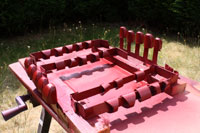
After lots of sanding and filling I decided to throw some paint at them:
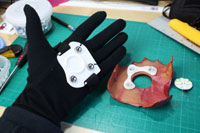
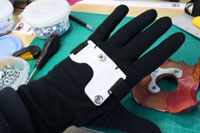
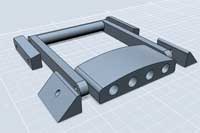
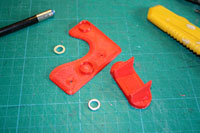
I made these 3D printed parts which will allow the palm, and finger/thumb to latch on with magnets. You can download theSTL files for the parts from my download page
These parts are printed in ABS and stitched onto he glove, I have velcro straps either side to hold them in place securely:
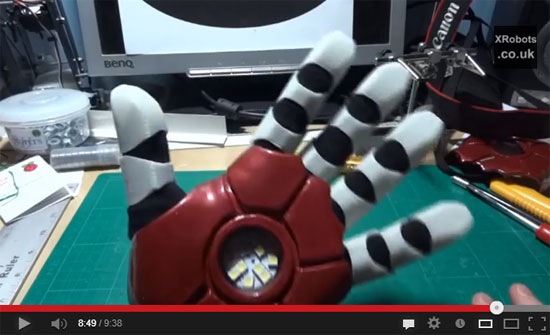
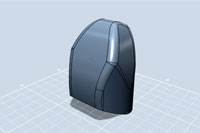
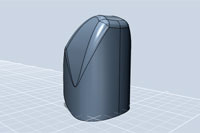
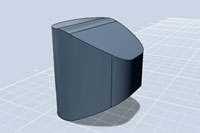
I decided to 3D print the fingers in the end. You can download the STL files for the parts from my download page – they are essentially the same two parts in different scales, they are also solid objects so you need to slice them with no infill and with no tops/bottoms as appropriate:
Here are the initial prints for one hand:
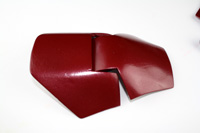
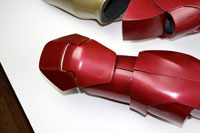
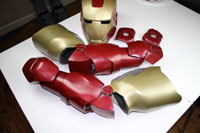
I have now completed the arm sections, so I’m moving onto the hand plates. These have 3D printed pieces to make the hinge, and also a ‘wedge’ piece to attach them to the cuff. You can download the STL files from my download page.
Here we are all assembled:
Finger parts next:
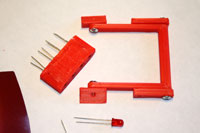
Having glued the fingers onto the gloves I decided to take a slightly different approach to the hand plates, detaching them from the sleeve of the suit and instead sticking them onto the back of the hand. I also wanted to fit a ‘laser weapon’ under the hand plate. This required a new hinge mechanism:
You can download the STL files for the parts from my download page
This is a double-ended hinge which allow the hand plate to hinge as it did before, but also lift up to reveal the laser weapon which is a row of four red LEDs:

