Vacuum forming table and heating solution
This article is a summary of my Vacuum forming table and easy heating solution.
The main information about this is in two YouTube videos. You can see the pieces I made with this table in my R2-D2 and C-3PO projects. Scroll down for more pictures of the set up.

The heater I have is a 2KW Quartz patio/workshop heater. This is an infra red heater, so it only heats the object that the light shines on, rather than the air in between. The heater is placed at the bottom of a box, which is lined with kitchen foil to diffuse the light over the surface of the plastic to be heated. There are some discussions on safety in the second video above.


The box is 75cm wall, and roughly 60cm square. It is tapered on two sides:


The forming table, which is shown more clearly in the first video above, is made in three layers. The top layer has lots of holes in, and a rubber seal around it made from self adhesive neoprene strip. The middle layer is an empty frame, like a picture frame, and the bottom layer is solid apart from one hole to which the vacuum is attached. The table is 60cm square.
The frame that holds the plastic is the same size as the table, but has an inside diameter of around 45cm square, it takes plastic that is 50cm square. There is another rubber seal between the two halves of the frame which are held together with bolts:


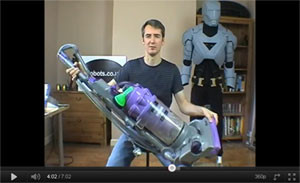
I’ve been using 2mm thick HIPS sheets, which take around 3 minutes to become soft enough to form. I’m using a Dyson vacuum cleaner as demonstrated in the videos above.
Related Posts


About The Author
James Bruton
My name is James Bruton, I live in Southampton, UK. Please note that this is my personal project website, I have no products for sale, most of the information is provided so that you can have a go yourself... Read More